Wednesday, June 11, 2008

Morning Walk

My wife and daughters were scheduled to fly out to California this morning with her parents for a week to stay with them at their house. I'm scheduled to fly out there next week then fly back with my wife and daughters the week after that. That's a lot of flying!

This morning, I woke up early and lost track of time. We were supposed to be in the car at 10:30 to be at the airport around 11:15. I looked at my watch and thought it was getting to be time to go. My wife informed me that it was only 9, not 10. I decided at that moment I was bored! I needed to get out of the way so my wife and her parents could finish getting everything ready to go. Yes, I do mostly just get in the way of those things.

I decided a decent way to pass the time was to take a walk around the "neighborhood." I use the term loosely as we only have three neighbors visible from our house and only when there are no leaves on the trees. Here are the results of this mornings walk.

IMG_6521B

IMG_6519B

IMG_6518A

IMG_6515A

This one is arguably the best of all of them. I should have composed the previous four shots a little better. I'm still learning though.

IMG_6492A

IMG_6505A

Enjoy!

Tuesday, June 10, 2008

Layer Masks in Gimp

Lately, I have been using layer masks in The Gimp to do a lot of work, touching up photos. Nothing I'm writing about here is anything new or special, but I hope it helps you to understand layer masks better and some potential uses for them.

Remember that I'm still quite new at photography and image processing. There may be better ways to do these things, so feel free to leave comments.

I'm going to show one example, step-by-step. The image I'm going to show you layer masks on is one I took one evening around sunset. I came home from work, walked to the mailbox and saw the red horizon through my neighbors trees. I ran back to my truck and grabbed my camera and tripod and snapped off a bunch of pictures. I took several pictures that evening. When I went to look at them on my computer, they all had a nasty dust spot on them. I didn't figure this would have happened so soon, but it did.

Here's what I did to remove the dust spots.

1. Open the image in Gimp


2. Using the rectangular or elliptical selection tool, select an area about 4 or 5 times larger than the dust spot.

3. Copy the selection and paste it. This should create a "Floating Selection" layer. Grab the pasted layer with the mouse and drag it over the dust spot. Be sure to get the colors around your pasted image to match the image below it. This will make it easier to blend things together.

4. Right click on the "Floating Selection" layer in the layers dialog and click "New Layer". This will create a new layer to work from.

5. Right click the new layer and select "Add layer mask." When the dialog pops up, select "Black (full transparency)". We're going to make the layer totally transparent and 'paint' in the new area.

6. Select the Air Brush tool by pressing "A" or clicking on the air brush icon in the tools palette. You'll want to use a soft brush so the new area blends in nicely with the old area. I selected the "Circle Fuzzy (76)" brush. You may or may not have it. If not, you should have similar brushes.

7. Make sure the mask of your new layer is active by clicking on it in the layers dialog.


8. Set your foreground color to white and start painting above the dust spot. It should begin to slowly disappear. If you notice an edge forming around where painting, switch to black and work at it until it disappears. You may need to switch back and forth a few times, but with a little patience, you'll get it.

Here's my final image.


One of the many other uses for layer masks that I find myself using frequently is blending exposures. I took some portraits for my mom's business card. The image she selected had a blown out highlight on her forehead. I fixed this by blending two exposures from the raw file. I also used this technique to hide a shadow on the backdrop.

There are an infinite number of uses for layer masks. This is just one of them that I find myself using often. Let me know if you found it useful or if you know of a better way to achieve the results I might have worked too hard for!

Saturday, June 7, 2008

Early Morning

It's not very often I'm up as early as I was this morning. It's for a good reason that I'm not usually up at 6am. That reason is there usually isn't a neighborhood cat running around my yard. I don't mind cats. In fact, I can probably be reasonably accused of being a cat person. But, I have found a new joy in life... Birds & Squirrels. Cats, dogs and birds are not compatible. You'd know this if you watched Tom & Jerry and Sylvester & Tweety. Cats, dogs, birds and rodents just don't get along. So, I had to get up early to chase a cat away.

I think God wanted to show me He's still thinking about me, that I'm not forgotten. That He loves me! Here's the proof...

I figured, if I'm going to be up this early, I might as well make some coffee and feed the birds. So, I walk out the one of the feeders in the back of my yard and see these guys watching.

IMG_5832A

I was absolutely amazed to see four chipmunks sitting on one tree stump sunning themselves like that. Normally, when two or more are gathered (chipmunks that is), there is chaos.... It's every man for himself!

I wanted to get closer for a better shot, but as soon I started moving in, they all scattered down the tree stump. This guy poked his head up a couple of times, but disappeared as soon as he heard the shutter.

IMG_5833A

I waited a little bit and they didn't return. So, I got up and walked around to the front yard to see what I could find. There was a chipmunk sitting on the rock next to the small pond. While taking pictures of him, I noticed this guy in the background. Click the images to see them larger.

IMG_5871A

IMG_5854A

This is God's way of reminding us to smile!

IMG_5870A


This is the day which the LORD has made; Let us rejoice and be glad in it. Psalm 118:24

Thursday, June 5, 2008

Linux Experience So Far

Jim Talkington asked if I was having any luck with Linux for my photography work, so I thought I'd respond in a blog entry about my experience. I would like to read about other people's experience using Linux, whether it's good or bad. Considering that I don't have experience using Photoshop and other commercial tools, I don't know what I might be missing.

There are a handful of people that I know of using Linux for digital photography. I don't know of anyone using it to make money, though. Here are the few people or groups I know of using Linux for photography work.
Here's my experience with the tools I'm using.

I use the Gnome Desktop Environment. This is important as it's how I access my software and my files. I gave XFCE a try, but found the file manager to be a bit buggy. It froze up on me a few times, but other than that, I liked it. I'm back to Gnome. I use Windows 2000 at work and find I'm much more productive on a Linux desktop running Gnome.

Being that I shoot everything in RAW, I had to find a RAW converter. I began using UFraw and found it easy for me to get good looking images. I do like some of its features that RawStudio is missing, though. I did make the switch to RawStudio because of the improved workflow. It allows you to copy and paste settings to one or multiple files at a time. My first few experiences with it proved to be difficult, but I managed to figure it out.

The thing I like about UFraw that I don't like about RawStudio is the ability to use the scroll wheel to fine tune sliders. This is especially useful when working with color balance. It's nice to be able to click anywhere on the slider to make larger adjustments while scrolling the wheel to make finer adjustments. It's not so easy to make the fine adjustments by clicking & dragging the slider, in my experience.

I have had RawStudio crash on me a few times. It has mostly happened while switching directories, rarely ever while working on a file. I don't recall ever losing any changes as a result of it though.

I also discovered that you have to turn on color management in RawStudio. For the longest time, I couldn't get a good looking portrait out of RawStudio, no matter how hard I tried. I turned on color management and my portraits are coming out great (remember, I've only been at this for a month... great to me is mediocre to most everyone else).

I have been using the Gimp for a long time now. I don't know how many years, but I use it in place of Photoshop at work (I'm a web developer/programmer). Thankfully, I'm not the main developer. I need to have the PSDs flattened by the production guy as some features in Photoshop aren't supported in Gimp. Thankfully, my responsibilities don't normally involve cutting up a design and turning it into a page.

I have only been using Gimp for a little over a month for photography. I don't have any experience with Photoshop to compare with, so I don't know what I'm missing out on. I have been very happy with the Gimp so far. There are things I'm looking forward to that are in planning or in the works, such as non-destructive editing and 16bit support. I'd love to be able to make a curves adjustment without producing a bunch of gaps in my histogram.

I haven't learned enough to be artistic yet. I'm working on that though. I've gone through some of the many tutorials available, watched videos. I've even worked through tutorials designed for Photoshop with some success. Steve Paxton has some videos and tutorials on his site that describe the process and techniques he uses. I've found those to be helpful, even though he uses Photoshop.

I haven't run into any problems with cataloging yet. I have just over 700 images that I decided to keep and convert from RAW. These are very easy to manage using GThumb. GThumb has support for tagging or categorizing as well as the ability to organize images in catalogs and libraries. I haven't done this yet, but I'm sure I will be forced to soon.

I have yet to print a photo and when I do, I'll likely take it to Walmart to do it. I don't have any color profiles set up for my monitor yet. I wouldn't even know where to begin to figure this out. Joel Cornuz talks about it some on his blog, but I haven't attempted it yet. For now, things work out okay for uploading my images to Flickr.

This is the account of my experience. I'm in it for fun and to learn. If I make money at it some day, that would be great, but I don't have hopes of that. I already ruined one perfectly good hobby by making a career out of it. If I do decide to take my photography to a professional level, I will give the commercial tools a try. I'll see how they compare to what I have available from the open source community. If I do, I'll write about it. But, my experience so far has been pretty positive. I'm learning, I'm turning RAW files into TIFs and JPEGs that look decent to me and I'm having fun.
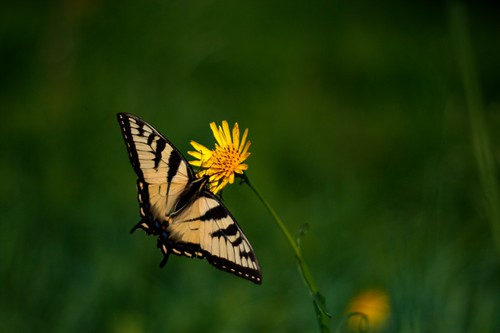
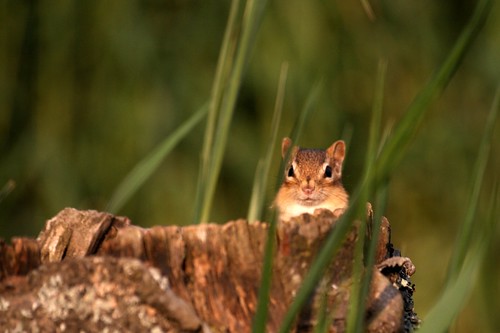
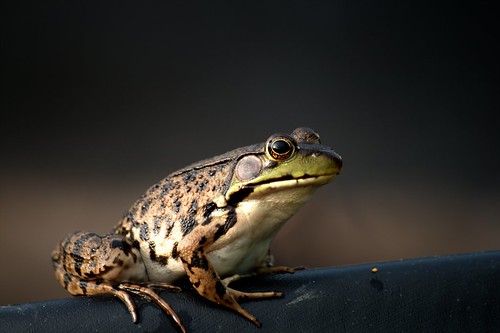
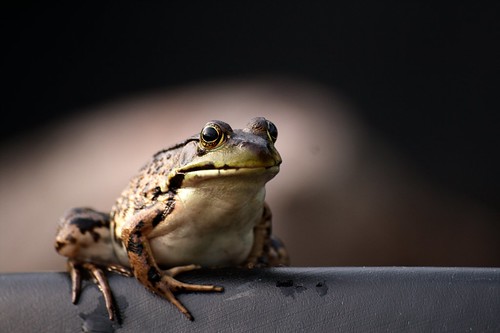
Look at my Flickr stream and browse through my blog archive. I have posted the best of my photos so far. Whether or not they look good is another thing. Hopefully they do and hopefully it's due in part to the tools I'm using.

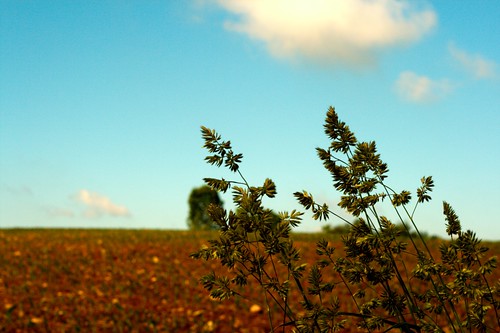
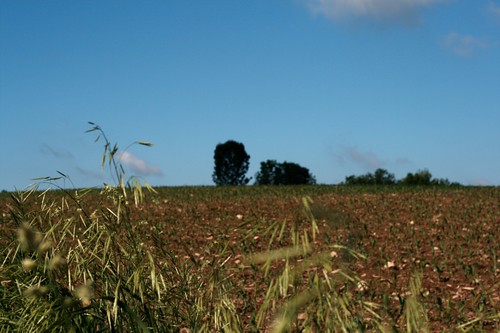
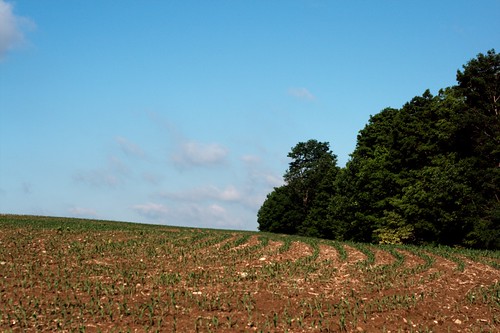
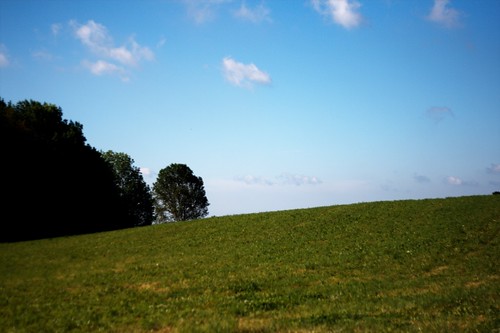
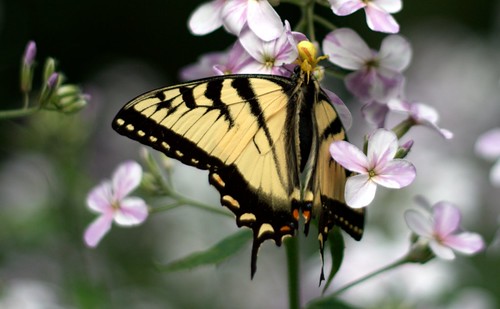
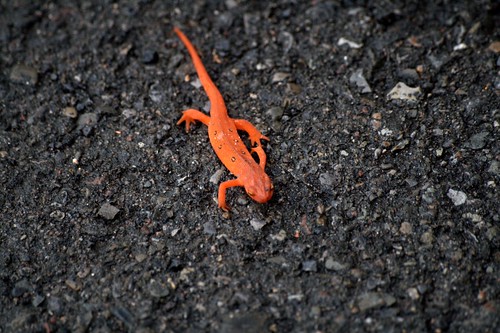
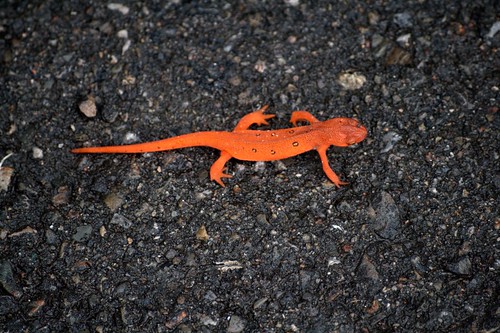
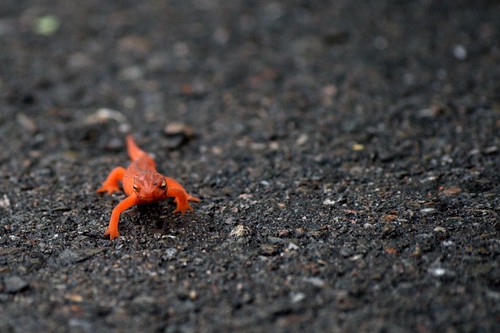
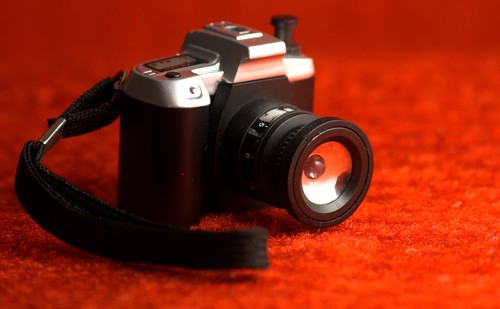
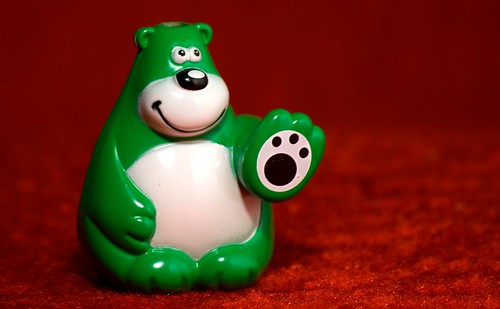
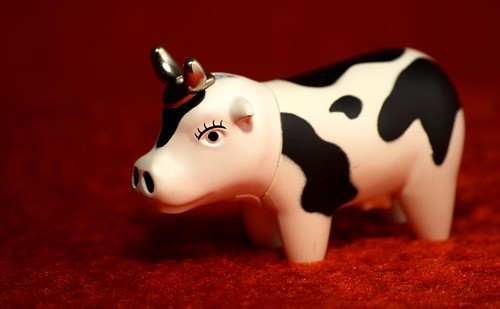
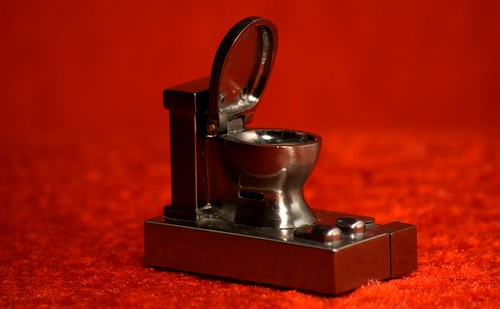
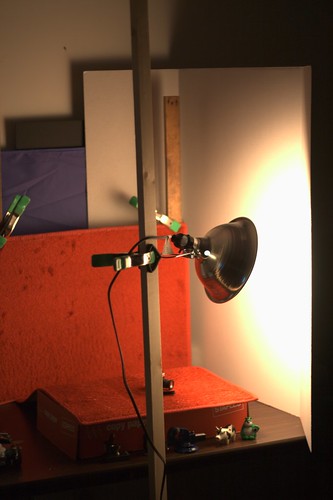
Being that this is a photo blog, it would be wrong for me to end this without a picture.

IMG_5792A

In My Driveway

I went out yesterday morning to check the air in the tires on my truck. They have a tendency to go a little flat after a while. So, I hook up the compressor and about nearly step on this guy. I'm not one to pass up on a good photo opportunity!

IMG_5643A

IMG_5636A

IMG_5630A

I like how the color of the Red-Spotted Newt contrasts with the driveway. I took a bunch of shots of the newt inside, under my lighting set up, but the stupid thing wouldn't stay still long enough!

Wednesday, June 4, 2008

Around Town

IMG_5494A

No, unfortunately, that's not mine. It's my coworkers. She just bought it a few weeks ago. She offered me a ride in it Monday afternoon as she had to run to the bank. I thought, "hey... it could be fun." I looked over and saw my camera sitting next to me, so I grabbed it. The only thing that could have been better about that short trip is a wide-angle lens. I took a ton of pictures in the short ride.

IMG_5563A_1

IMG_5560

IMG_5537

IMG_5531

These are all within just a few miles from the office.

Since I've been learning a little more about post processing techniques, I thought I'd try it out on these. I swiped the first few steps of the Orton Effect. I left out the blurring as I didn't really feel it added to these pictures. I do like the boost in saturation though. I hope they don't appear to be overdone.

UPDATE: I forgot to mention that on the Corvette Barn & Video Game store photos, I created two TIF files from one RAW. One exposed for the detail in the sky and other bright areas and the other exposed for the shadier areas. I combined the two TIF files using layer masks in The Gimp. I have been finding numerous uses for layer masks recently.

Sunday, June 1, 2008

Lighter Collection, Part 1

Praise goes to God that I no longer smoke. I celebrated one year on March 12. I do still enjoy my lighter collection, though. They are special gifts my father-in-law buy for me. Every time he comes to visit, he brings a few. I not only appreciate them because they're pretty neat, but because my father-in-law is a very thoughtful, generous man. I couldn't have asked for better in-laws.

Here's part one of my collection.

Silly Lighter

IMG_5397A

IMG_5396A

IMG_5394A

IMG_5393A

IMG_5391A

And, here's the set-up shot! Jim Talkington doesn't pay me for this. I just happen to be rather enthusiastic about the stick-in-a-can idea he came up with. He has saved me a ton of money and a lot of effort trying to figure out how to light my stuff. Pro Photo Life deserves all the credit for my savings.

I even used a stick-in-a-can this weekend to do some portraits of my mom for her business card. I had three basic, 100watt equivilent CFLs in their clamp-on work lamps all pointed at the ceiling.

Anyways, here's the set up shot for my lighters.

IMG_5404A