Remember that I'm still quite new at photography and image processing. There may be better ways to do these things, so feel free to leave comments.
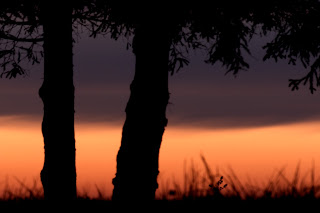
I'm going to show one example, step-by-step. The image I'm going to show you layer masks on is one I took one evening around sunset. I came home from work, walked to the mailbox and saw the red horizon through my neighbors trees. I ran back to my truck and grabbed my camera and tripod and snapped off a bunch of pictures. I took several pictures that evening. When I went to look at them on my computer, they all had a nasty dust spot on them. I didn't figure this would have happened so soon, but it did.
Here's what I did to remove the dust spots.
1. Open the image in Gimp
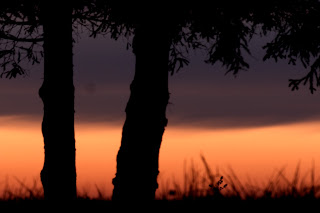
2. Using the rectangular or elliptical selection tool, select an area about 4 or 5 times larger than the dust spot.
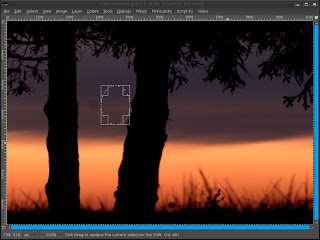 3. Copy the selection and paste it. This should create a "Floating Selection" layer. Grab the pasted layer with the mouse and drag it over the dust spot. Be sure to get the colors around your pasted image to match the image below it. This will make it easier to blend things together.
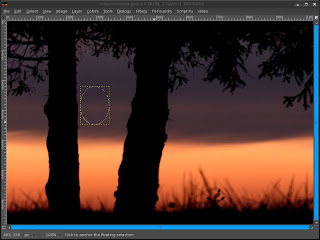 4. Right click on the "Floating Selection" layer in the layers dialog and click "New Layer". This will create a new layer to work from.
5. Right click the new layer and select "Add layer mask." When the dialog pops up, select "Black (full transparency)". We're going to make the layer totally transparent and 'paint' in the new area.
6. Select the Air Brush tool by pressing "A" or clicking on the air brush icon in the tools palette. You'll want to use a soft brush so the new area blends in nicely with the old area. I selected the "Circle Fuzzy (76)" brush. You may or may not have it. If not, you should have similar brushes.
7. Make sure the mask of your new layer is active by clicking on it in the layers dialog.
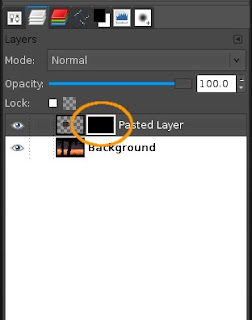
8. Set your foreground color to white and start painting above the dust spot. It should begin to slowly disappear. If you notice an edge forming around where painting, switch to black and work at it until it disappears. You may need to switch back and forth a few times, but with a little patience, you'll get it.
Here's my final image.
One of the many other uses for layer masks that I find myself using frequently is blending exposures. I took some portraits for my mom's business card. The image she selected had a blown out highlight on her forehead. I fixed this by blending two exposures from the raw file. I also used this technique to hide a shadow on the backdrop.
There are an infinite number of uses for layer masks. This is just one of them that I find myself using often. Let me know if you found it useful or if you know of a better way to achieve the results I might have worked too hard for!


2 comments:
Hey John, you'd asked about differences between open source and commercial software, this article on layer masks (well done!) reminded me of a couple. I could use the GIMP for most all of my work if it had adjustment layers (a curves layer, hue and saturation layer, etc.) and more sophisticated color management. For the way I do post-production those are the only two things I'd really need added for most of my work.
I hear you on the adjustment layers. I believe that that's coming in a future version. I'm not sure if it'll be when they release the 2.6 or another version after. It would be very nice to be able to go back and tweak changes to get photos perfect.
I admit that I haven't spent much time with color management. When I do, I'm sure I'll come to the same conclusion you have.
Post a Comment